Christmas Origami Mobile.
Einfach das Origami Mobile nachbasteln.
Follow my previous description:
Origami Mobile
Benutzt dazu Gold oder Silberfolie.
Den oberen Ring gibts im Bastelladen oder 1 Euroshop, ebenso wie Schlagmetall.Glitter und kleine Steinchen für die Augen. Viel Spass.
Just use Gold or silver foil.
The upper ring is avaibable in most crafting shops. The applies to the sheetmetal, glitter and smal fake gemstones. Have fun.
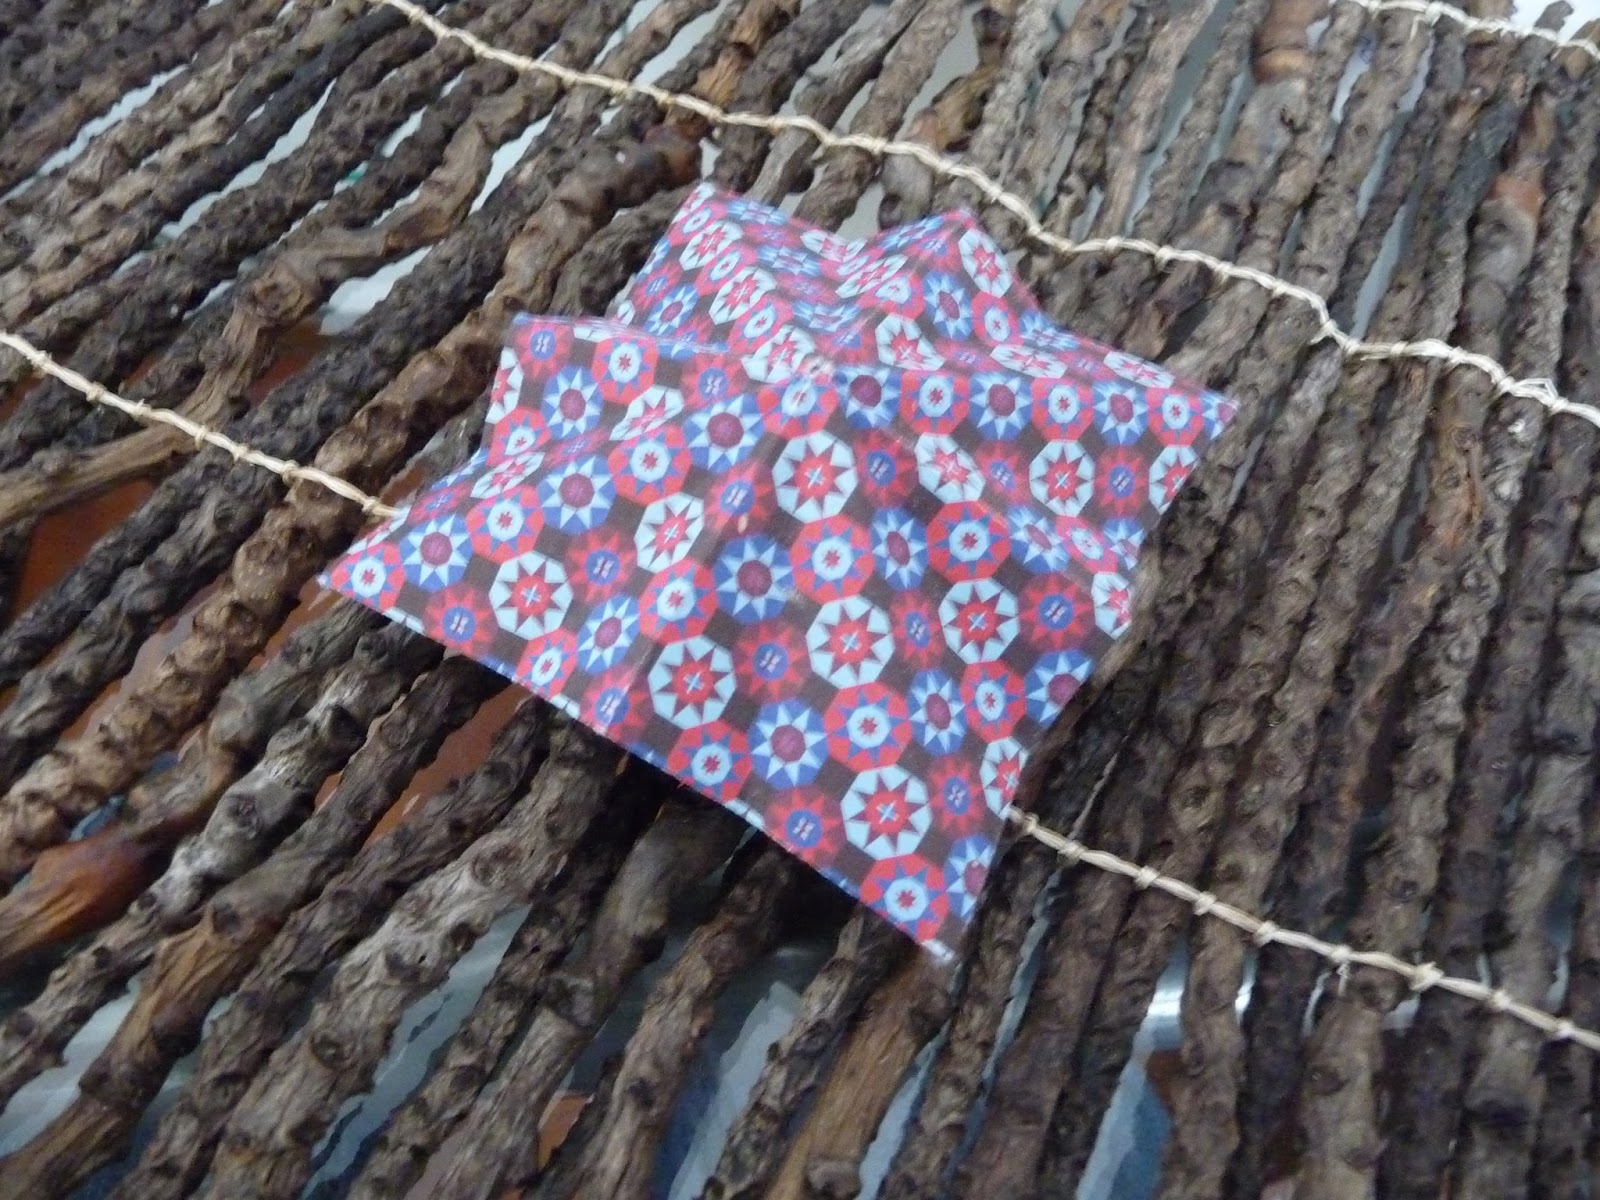
Glas Mat
4 kleine Glasuntersetzer mit Glitzerpulver und ein etwas Größerer für Vasen oder andere Objekte die man präsentieren möchte.
Einfach farbiges Papier miteinander verweben. In Form schneiden. Fertig.
Tutorial by UnitedArtAndEd:
YOUTUBE-LINK
4 small Glasmats with glitterpowder and a bigger one for vases and other objects you can put on a table or shelf.
How to do them:
Loom colored paper as shown in this tutorial by UnitedArtAndEd:
YOUTUBE-LINK and then cut the into shape. Done!
Paper Tree
Dieser Papier-Baum hat meine neue Dawanda-Fotobox eingeweiht.Kosten Punkt 3 Euro! Das durchsichtige Papier bekommt man im Bastelladen den farbigen Hintergrund beim Discounter.(Tedi) Die Lampen hatte ich noch.
Hier der Link für die Fotobox:
YOUTUBE-LINK PHOTOBOX

To make the Tree follow this tutorial: Use colored paper, cut like you see in the video and make around 7 of them. No need to glue them together like in the video just stag them on top of eachother and unfold. Squeez the bottom of the paper and roll it into the stem.
Video by Artsncraft4u for the upper part:
YOUTUBE-LINK
For the stem roll up colored paper.
For the plate loom colored paper as shown in this tutorial by UnitedArtAndEd:
YOUTUBE-LINK
This Papertree is the first object i put into my new photobox. The box is inexpensive to do: All you need is a cardboardbox, translucent paper and colored paper for the background. It costs me around 3 Euro.
YOUTUBE-LINK PHOTOBOX
3D - Pop Up Birthdaycard with Dove.

Hier eine schöne Pop Up Geburtstagskarte zum nachbasteln:
Das braucht man dazu:
-Glitzzerkleber oder Puder
-Filzbuchstaben
-Fotokarton
-Bastelleim
-Schere
-Cuttermesser
Die meisten Sachen bekommt man in 1 Euro-Läden, für.....1 Euro oder auch 2, 3.
Die Anleitung für die Taube von KirigamiArt:
YOUTUBE-LINK
Danach einfach die Filzbuchstaben und Glitzerkleber drauf machen und fertig.:-)
Simply an easy to do Pop Up Card. Download the Pattern for the 3D Card from the Youtube-Link and follow the instuctions.
You will need:
-Glitterglue or Powder
-Feltletters
-Photocardboard
-Glue
-Scissors
-a cutterknife or scalpel
After you are done with the card, apply glue and the feltletters as you wish..:) Done.
Paper Bird Cage
 Dieser Papier -Vogelkäfig besteht aus einem Papierlampenschirm und Origami Kranichen mit kleinen Papier-Ästchen.
This Paper-Birdcage is made out of an Paperlampshade and Origami Cranes and Trees.

Schritt 1: der Papierlampenschirm von Artsncraft4u( die Papierstreifen sehr fein schneiden):
Step 1: Lampshade Tutorial by Artsncraft4u:
YOUTUBE-LINK
Schritt 2: Als nächstens werden die Kraniche gefaltet(einfach). Das Tutorial von Tavin:
Step 2: Origami Cranes
Tavin's Origami Instructions for the cranes:
YOUTUBE-LINK CRANE
Schritt 3: Für die Ästchen einfach farbiges Papier zusammenrollen ein bisschen zerkrumpeln:-) und in Form bringen, so das der Schirm gut darüber passt.
Step 3: For the Tree´s i just rolled the paper and crumbeld it up. Next i formed them into a Treeshape.
Den Lampenschirm darüber stülpen, festkleben und ein bisschen in Form pressen.
Put the Paperlampshade onto the model, glue it to the base and press the top down in order to shape it.
Viel Spaß.
12 easy Origami-Figures
Fold an Origami Stress Reliever by Jeremy Shafer:
YOUTUBE-LINK
Easy Origami Dragon by Shinyorigami:
YOUTUBE-LINK
Origami Puffy Bunny Box by origamifun:
YOUTUBE-LINK
Origami Alien (Riki Saito) by Jo Nakashima
YOUTUBE-LINK
Origami Elephant by Tavin´s Origami Instructions:
YOUTUBE-LINK
Origami Rabbit by marigami:
YOUTUBE-LINK


Origami Ring
Tutorial by super1600:
YOUTUBE-LINK
Origami Heart Envelope
Origami Umschlag mit Herz.
Einfach einen Umschlag aus farbigen Papier oder Geschenkpapier falten:
und dann das geflügelte Herz von Jo Nakashima drauf kleben:
Fertig. Viel Spaß-
Origami Heart Envelope
Just simply fold an envelope out of present paper( click the link above to WIKI-HOW) and then apply the bat- winged heart by Jo Nakashima(YOUTUBE-LINK). Done!
5 Origami-Birds
Here is another easy batch of Origami figures.
If you like one of them just click the link and watch the tutorial.
Happy folding!
Origami Bird Tutorial - How to fold a Simple Paper Bird by Learn Origami:
YOUTUBE-LINK
Origami Bird- Leach's Storm Petrel
Tutorial by Mica
YOUTUBE-LINK
You have done this model? Please send me your pics and i put them right down here!
Abonnieren
Kommentare (Atom)


